
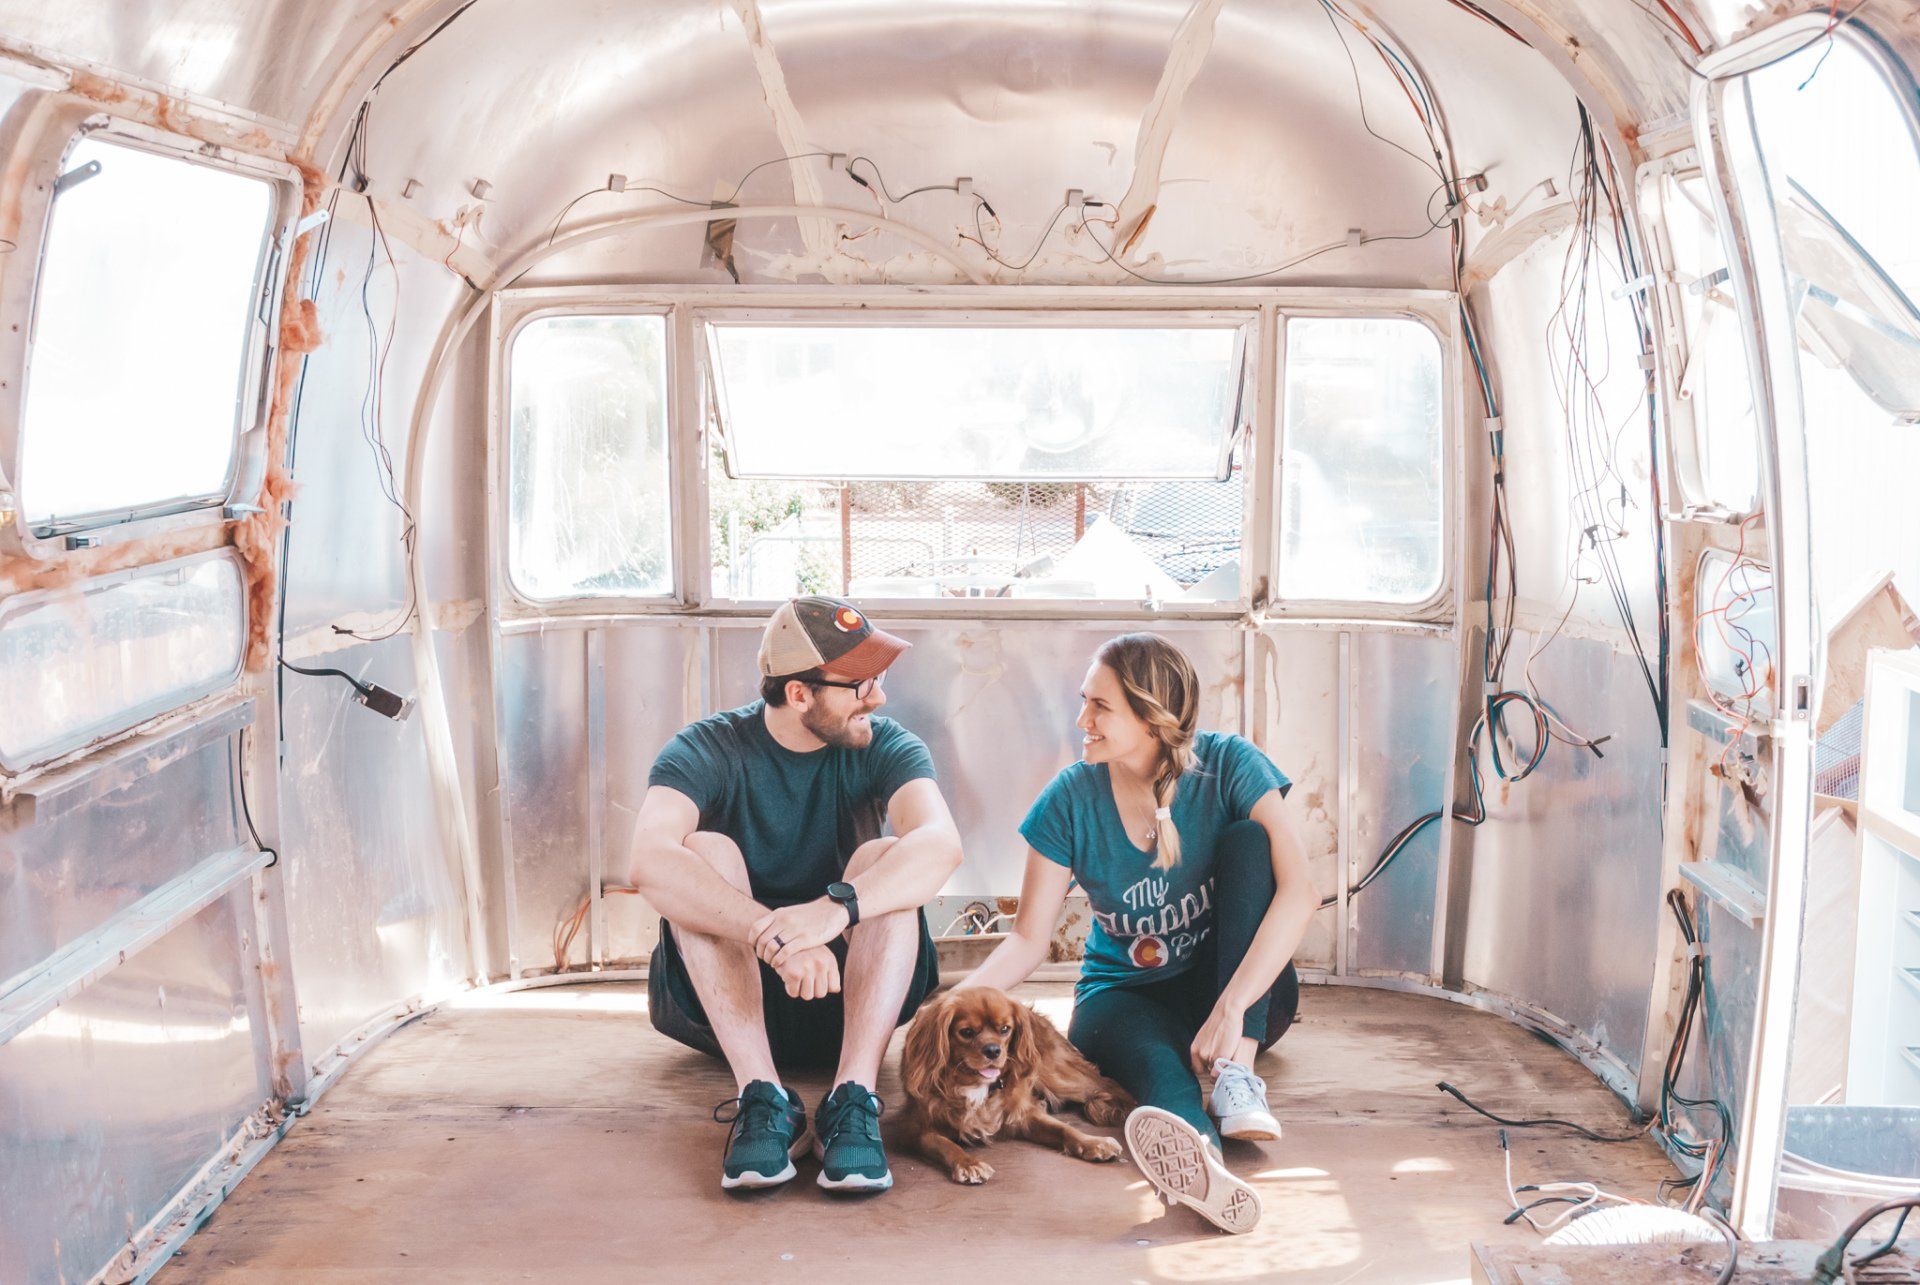
Replacing the Sub-floor
Tosha Tingey • May 10, 2019
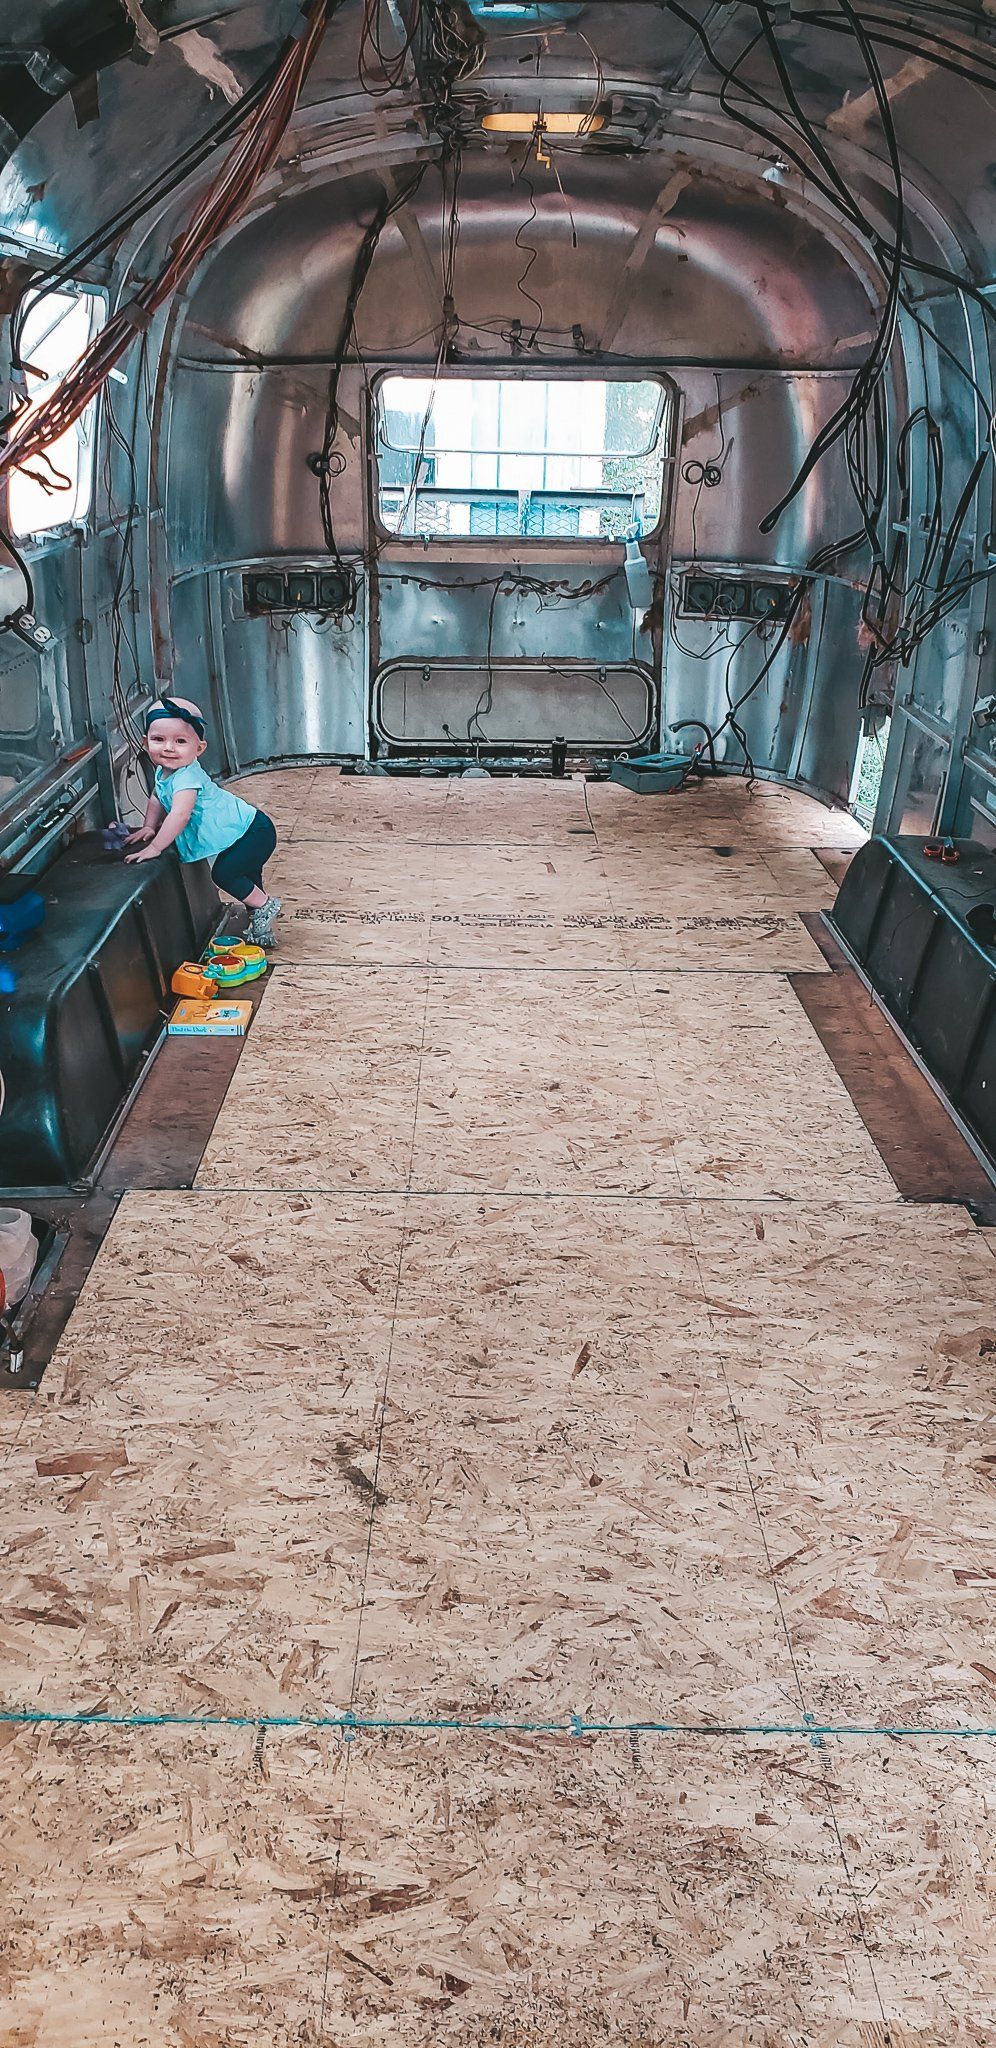
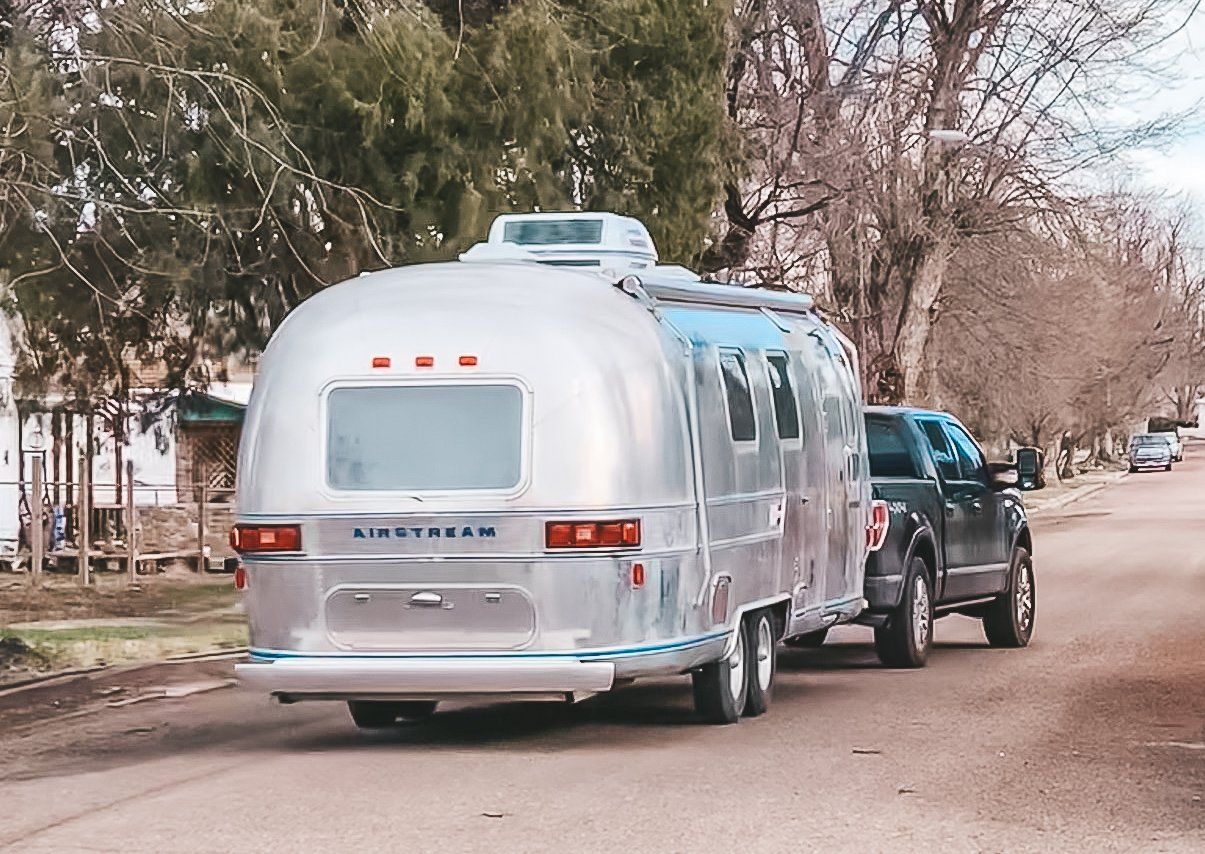
Ripping out and replacing the Sub-floor
The decision to rip out all the floors wasn’t easy. While the middle sections were all in good shape the two panels in the front and back were soft. We debated just replacing the soft areas but figured if we were going to do that we might as well do the entire floor. To read our demolition story click here.
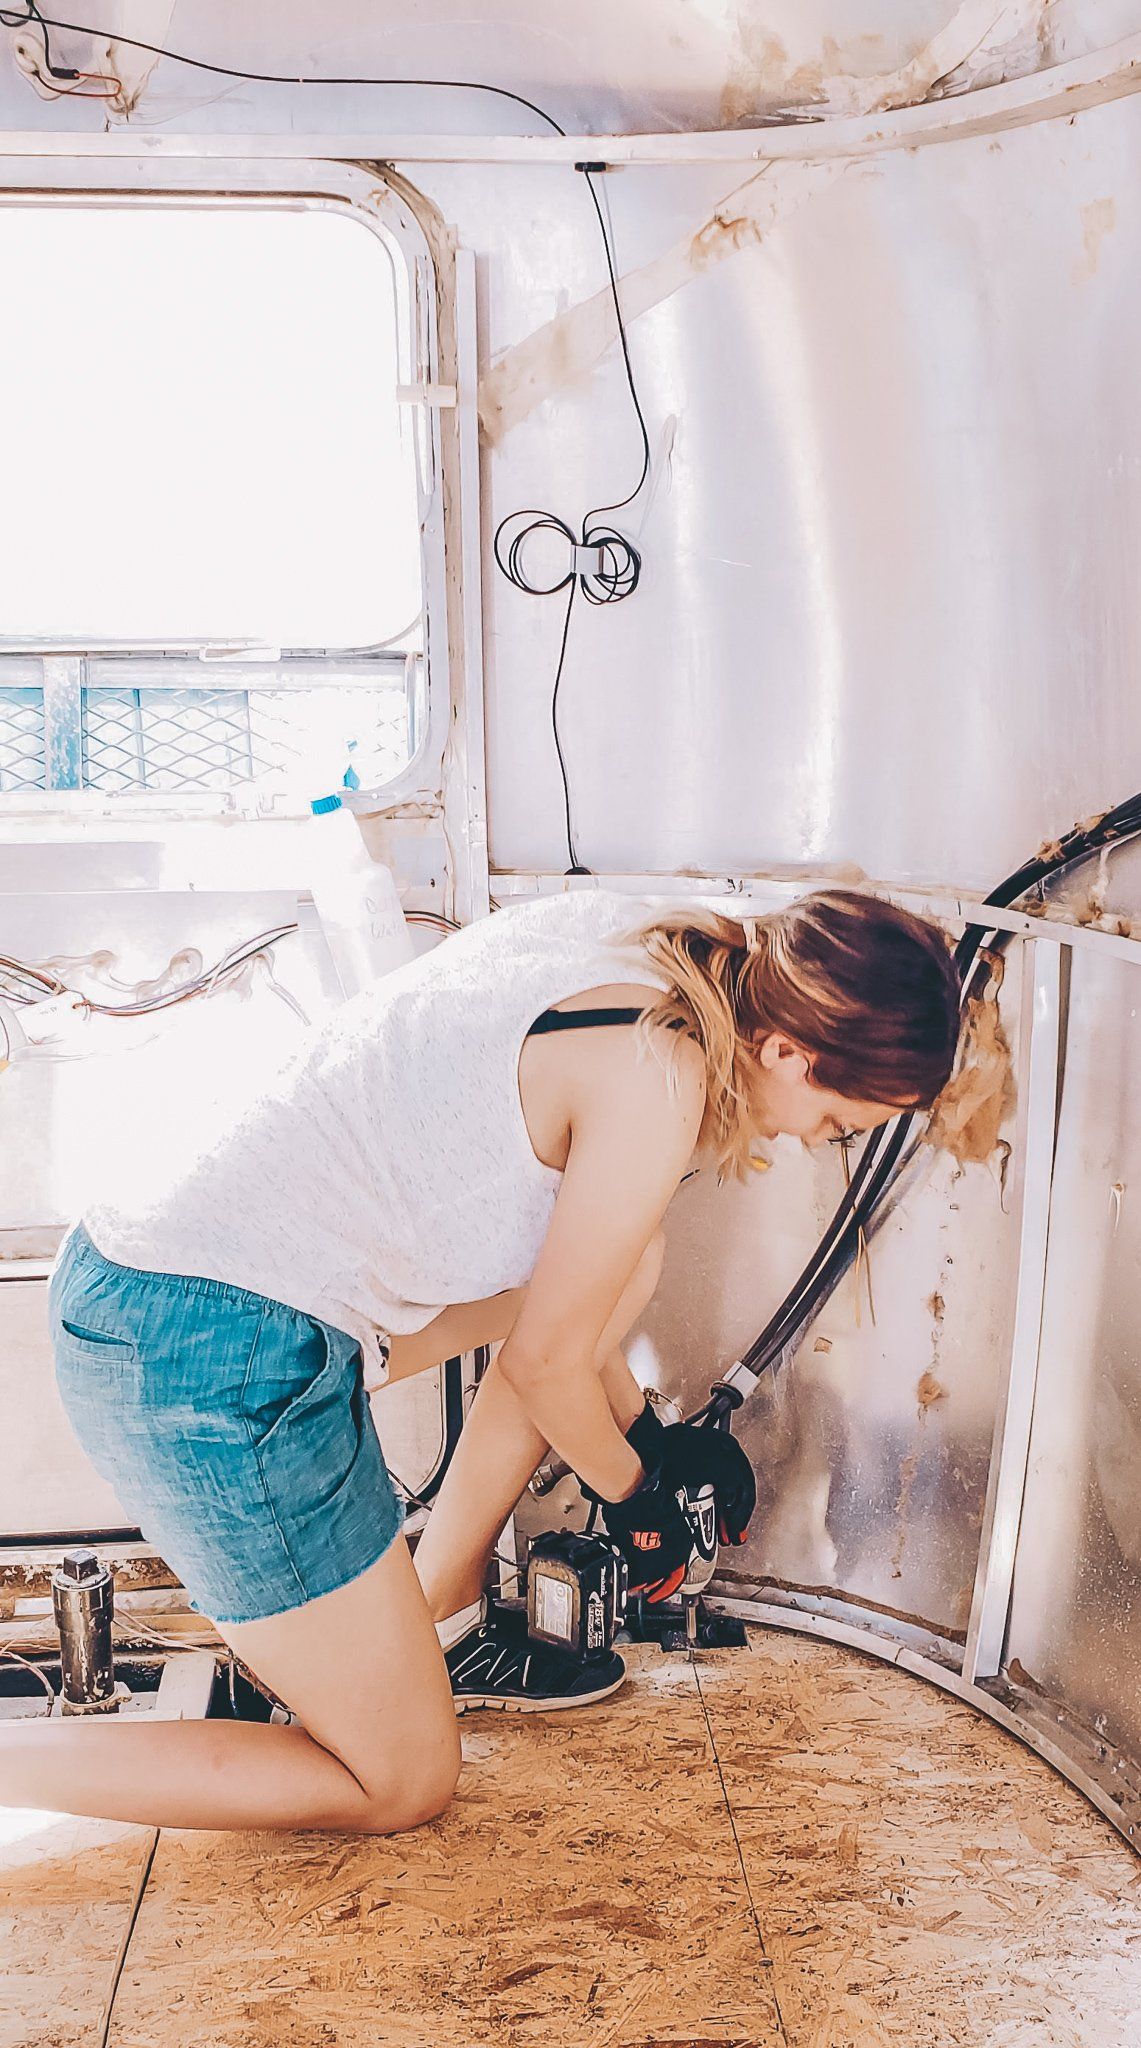
The two rusted beams in the bathroom came out with ease. We found a steel shop where we bought square metal tubing. Before replacing the floors, we welded the two beams back into place.
While the metal frame and the underbelly were exposed we took some time to do some maintenance on them and the tanks. Since we are planning to use a compost toilet, we sealed off the black tank with Epoxy and turned it into a second grey water tank. We cleaned both the back tanks and also took out the fresh water tank from underneath and will be replacing it later on. We wire-brushed the rust off the metal frame. Next, we used XO Rust from True Value (similar to Rustolium, but we prefer this because it’s cheaper and lasts longer and we were very impressed by it.) to seal in the rust we couldn’t remove and to prevent more rust.


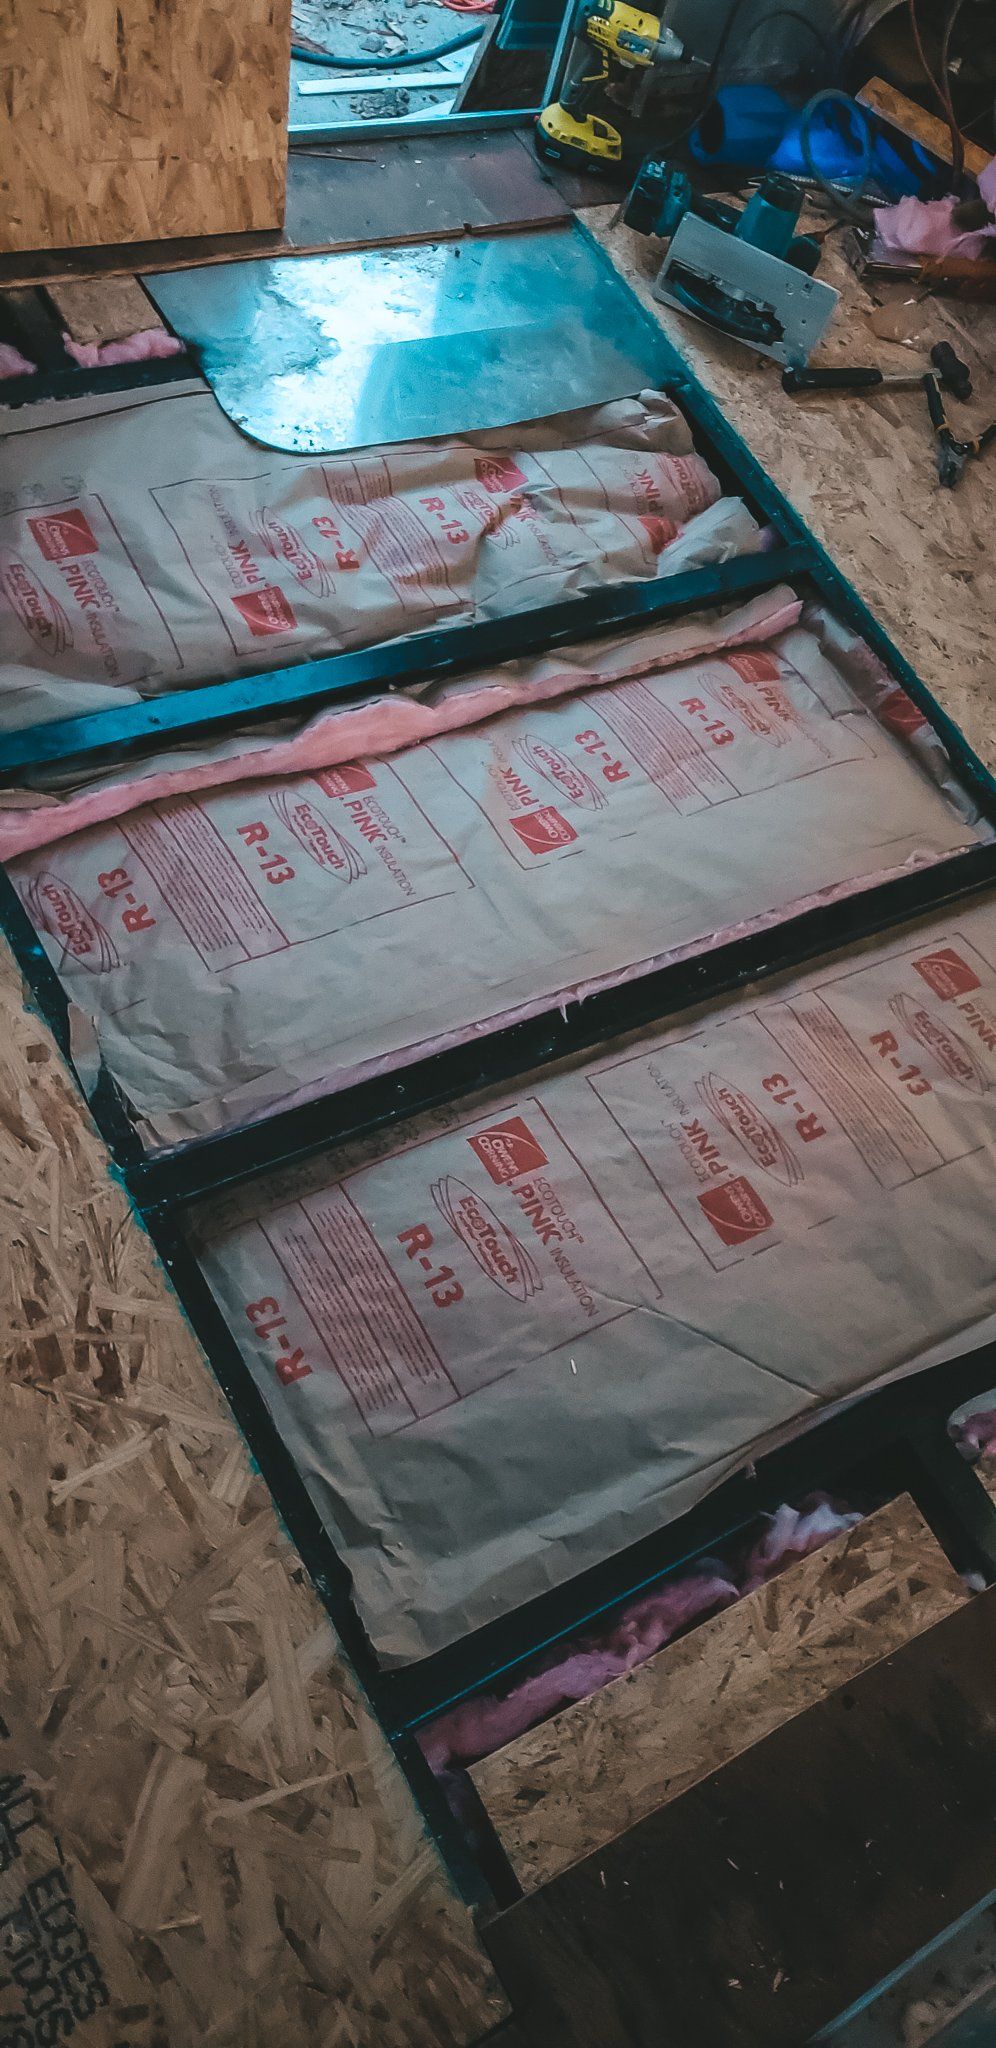
Next came insulation!
Back in the day Airstreams were built with insulation that was thinner and was sandwiched between the metal support and the subfloor. Modern insulation is much thicker and so we needed to find a way to keep it off the metal underbelly in order to keep that pocket. We used a combination of wiring and stapling. Places, where we could wire across we, would build a wire bed for the insulation to lay on. In the other places where that wasn’t possible, we used a “wacky” stapler (my new favorite tool) to staple the insulation to the bottom of the new sub-floor.


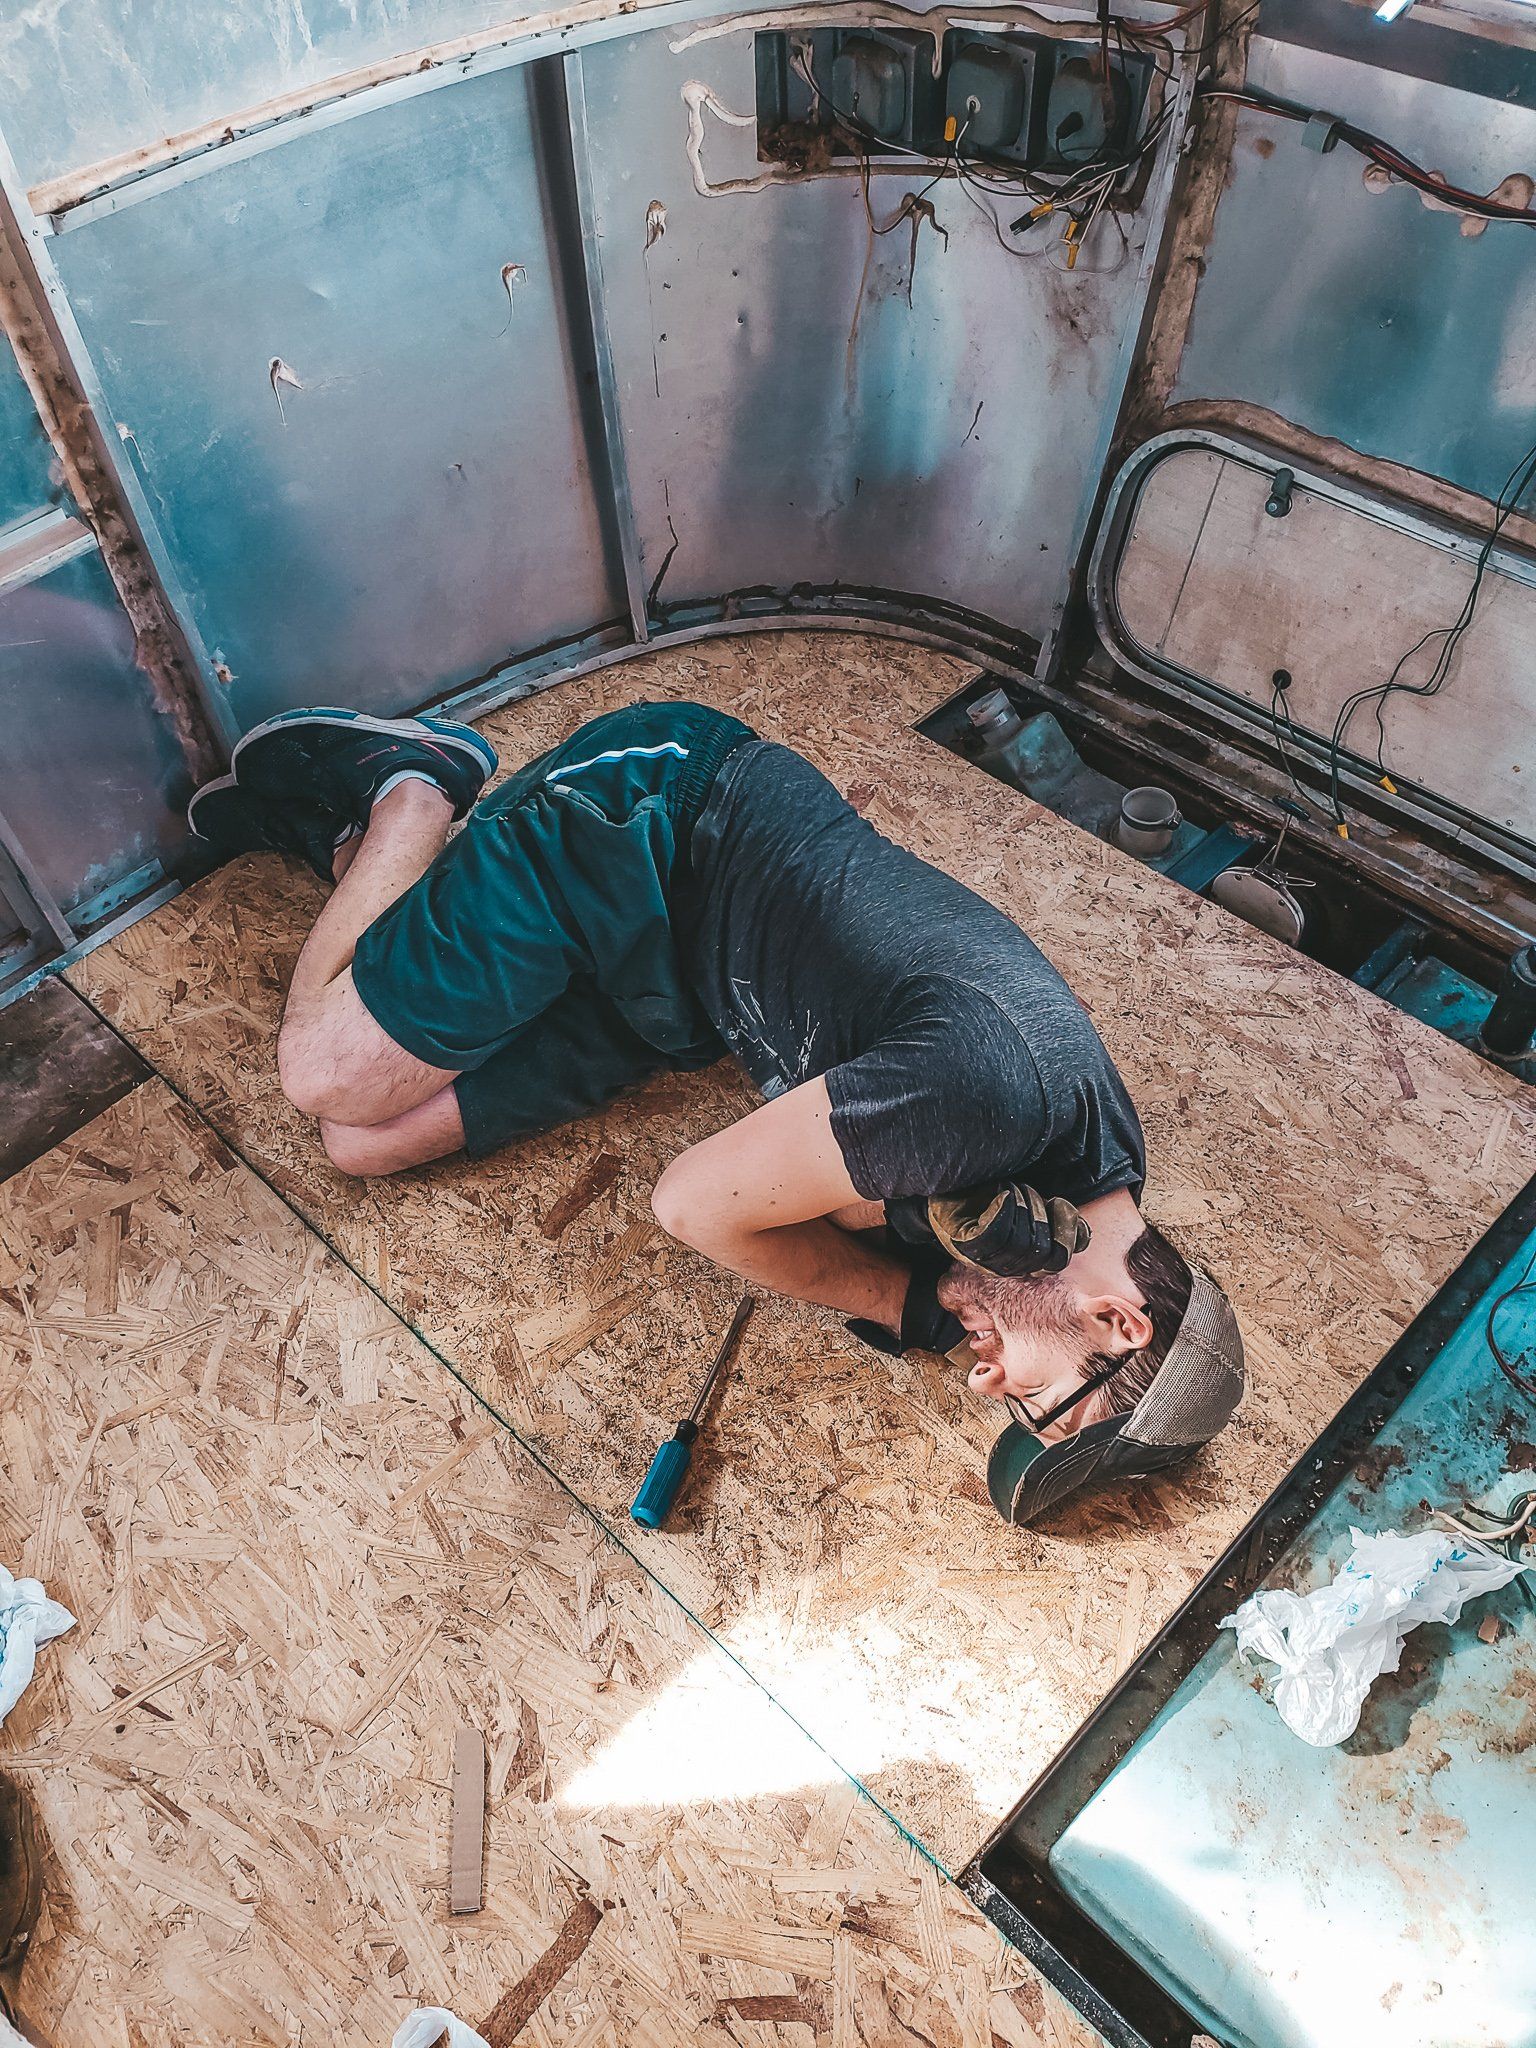
The insulation is in and then come the floors! We wrote down measurements and cut the wood to fit the borders. The trickiest section was the bathroom where we had to cut the wood to the curve. It was also trickiest because it was the only area of the original sub-floor that had rotted underneath the frame. We created a template by piecing together cardboard to follow the curve and get the correct size. Once each section was measured and cut we placed it down to make sure it was the correct fit.
Thankfully it fit! It only took 3 attempts and Jon was incredibly thrilled when it finally worked.


Time to put the floors in!

We screwed wood scraps underneath the original wood border that stuck out for us to screw the new floor in to create a seam and offer support. Once those were placed it was time to screw down the floors. We went section by section and I would draw the lines where the metal beams underneath us were. Then Jon would drill and I would follow him and screw it down to the metal frame. Four trips to the hardware store, six drill bits, and two boxes of wood to metal screws later… the floors were DONE!
A look at the “before” stage of our Boundless Life journey and the practical steps we’re taking to make it possible.
A helpful guide to worldschooling at every age, including toddlers, school aged kids, and teens, and how to decide when your family is ready to begin.
Realistic budgeting tips, cost breakdowns, and strategies families use to afford worldschooling and travel-based education without overspending.
A straightforward comparison of worldschooling, homeschooling, and unschooling so you can choose the education style that fits your family best.
A clear, family-friendly breakdown of what worldschooling really is, how it works, and the different ways kids learn through global travel and real-world experiences.
A beginner-friendly guide to worldschooling, flexible education, and giving your kids a global classroom.
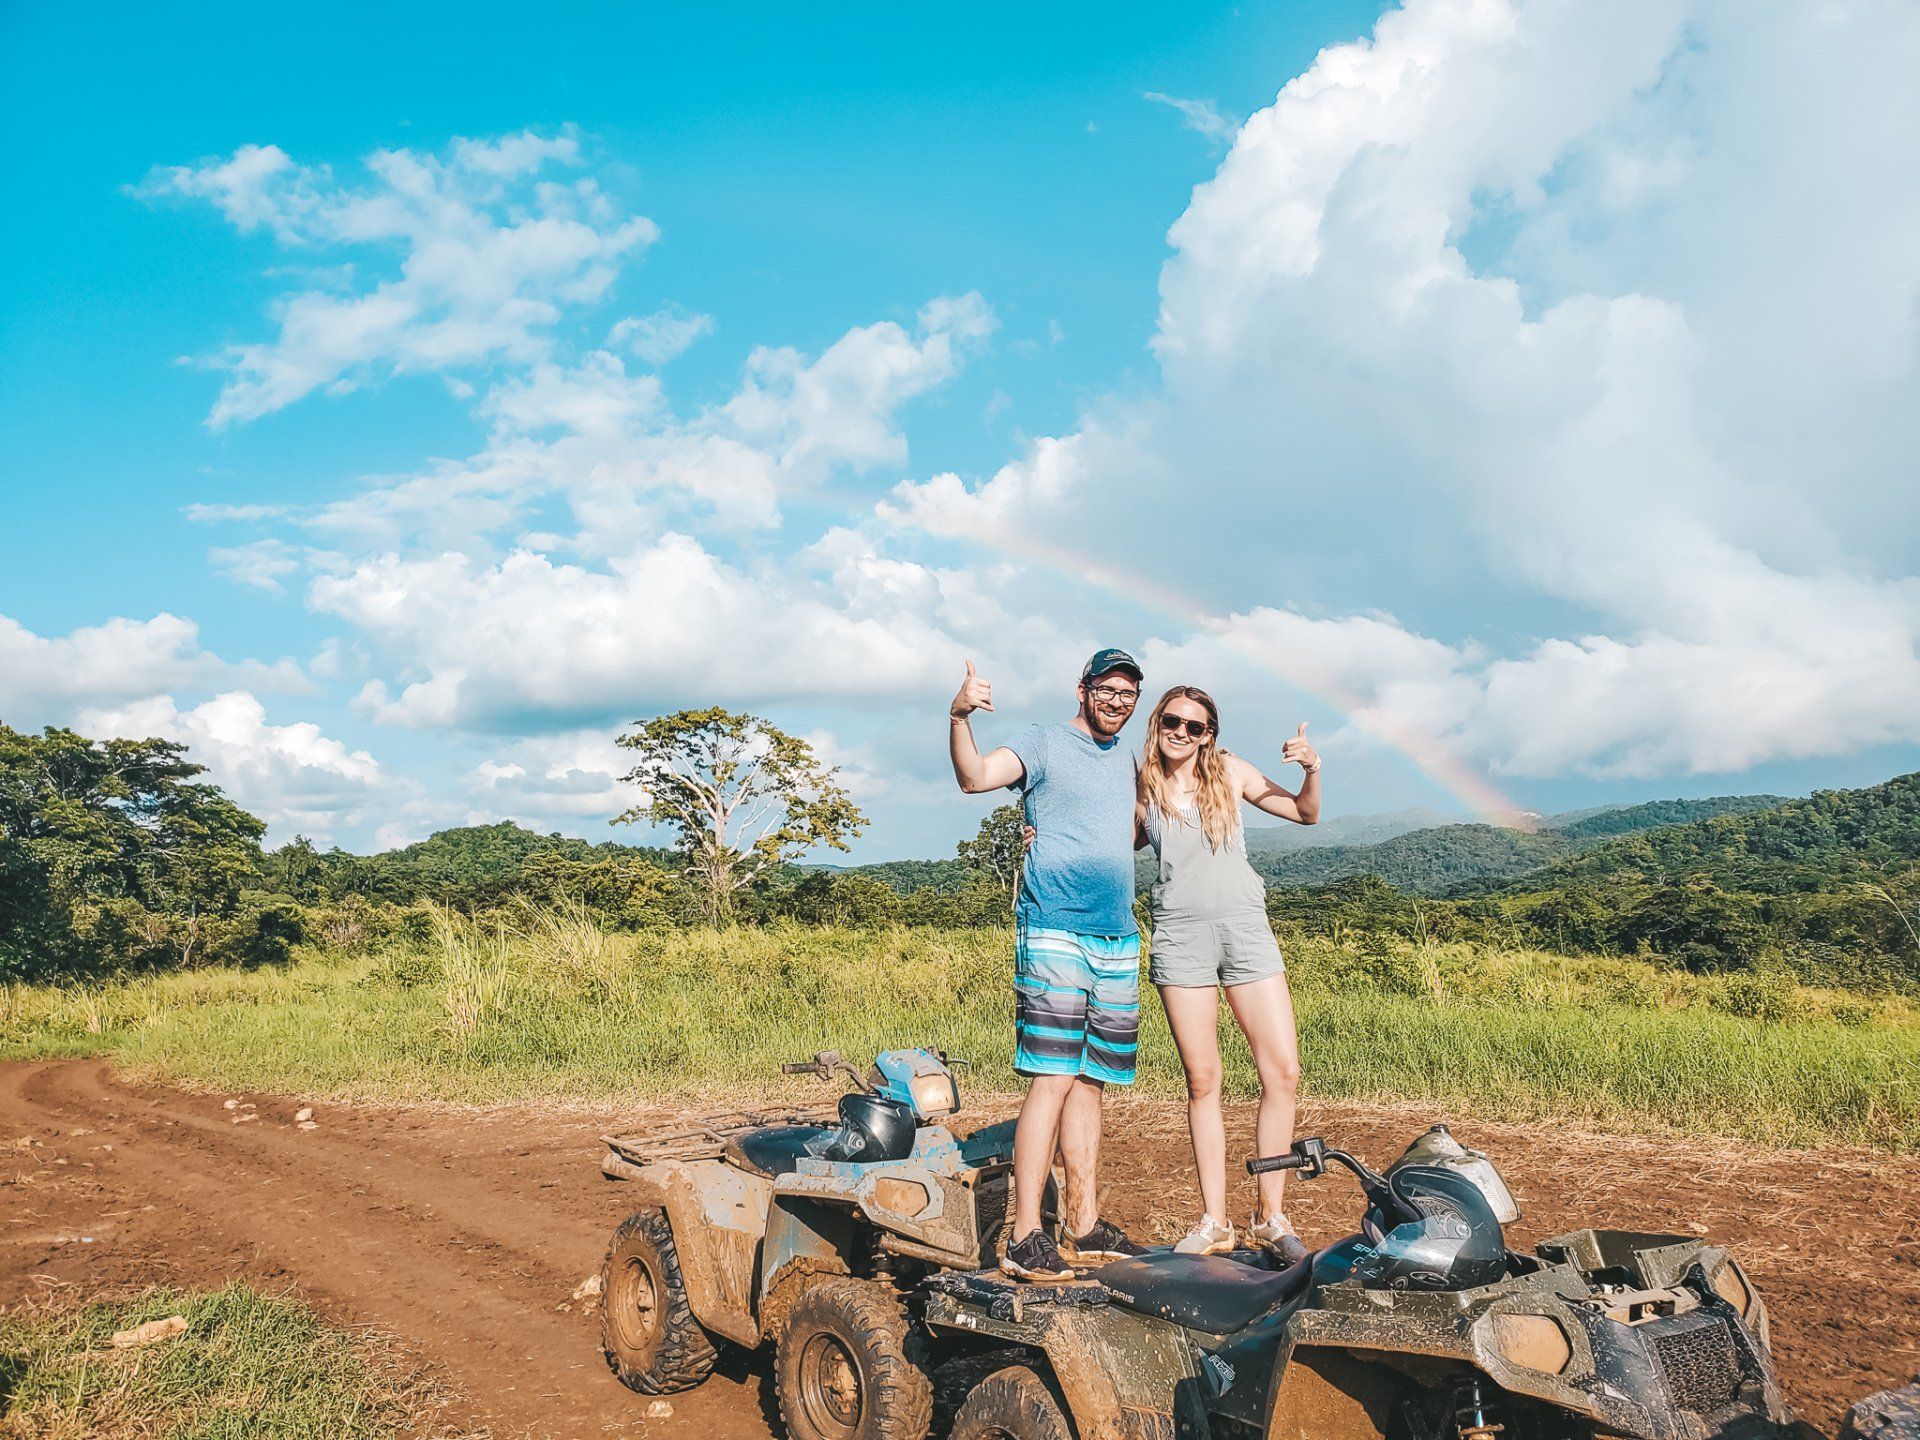
When you're on a cruise it can be difficult to experience the island or country you are in when you only have a few hours. The other challenge we had was finding an excursion that our entire family could join. And by entire family I mean my parents, my sister's family with four kids, and our family! So when we found Chukka Caribbean's excursion that included Zip-lining, River Tubing, ATV ride, lunch, and a bird aviary - it was the plan for a perfect day!

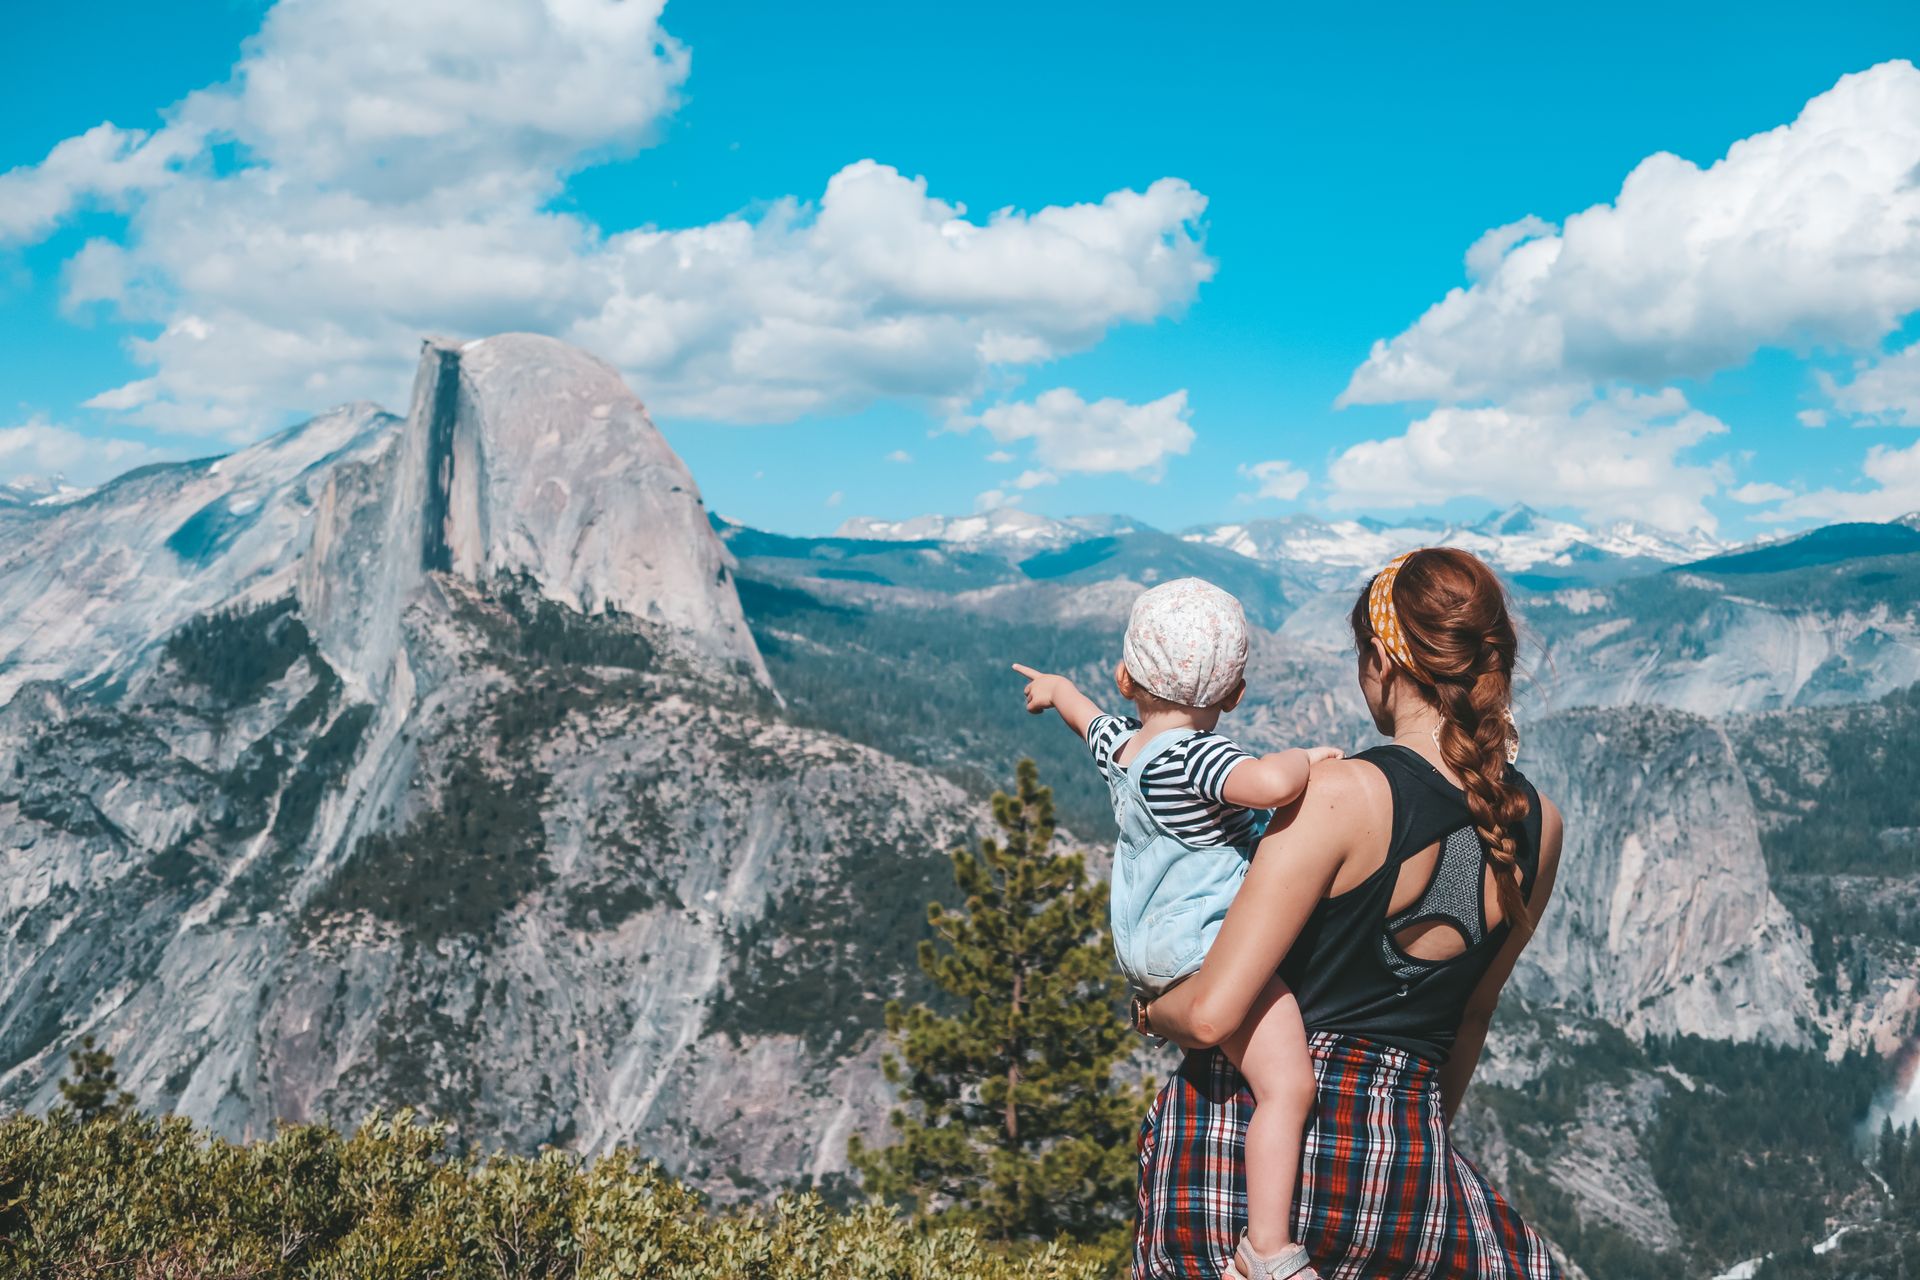
If you’ve ever gone to Rocky Mountain National Park, you most likely came through Estes Park. It’s pretty well known but from now on when we go to the National Park we will be going to Granby. Granby is on the western side of Rocky Mountain National Park. We found an AMAZING campground to stay at that has so many amenities and the area all around is packed with fun things to do!
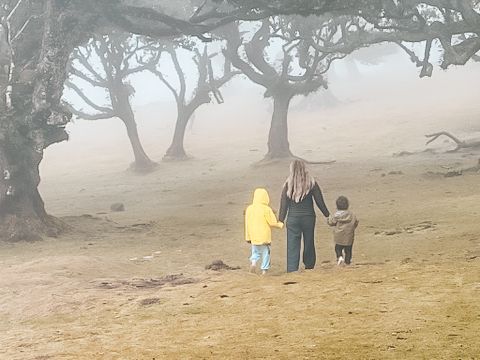
I always want to be real with anyone reading this blog about full-time travel, tiny living, Airstream life… all of the above. So I want to share some of our hardest moments that had us either wanting to quit or had us seriously questioning, “what are we even doing?” So here we go…
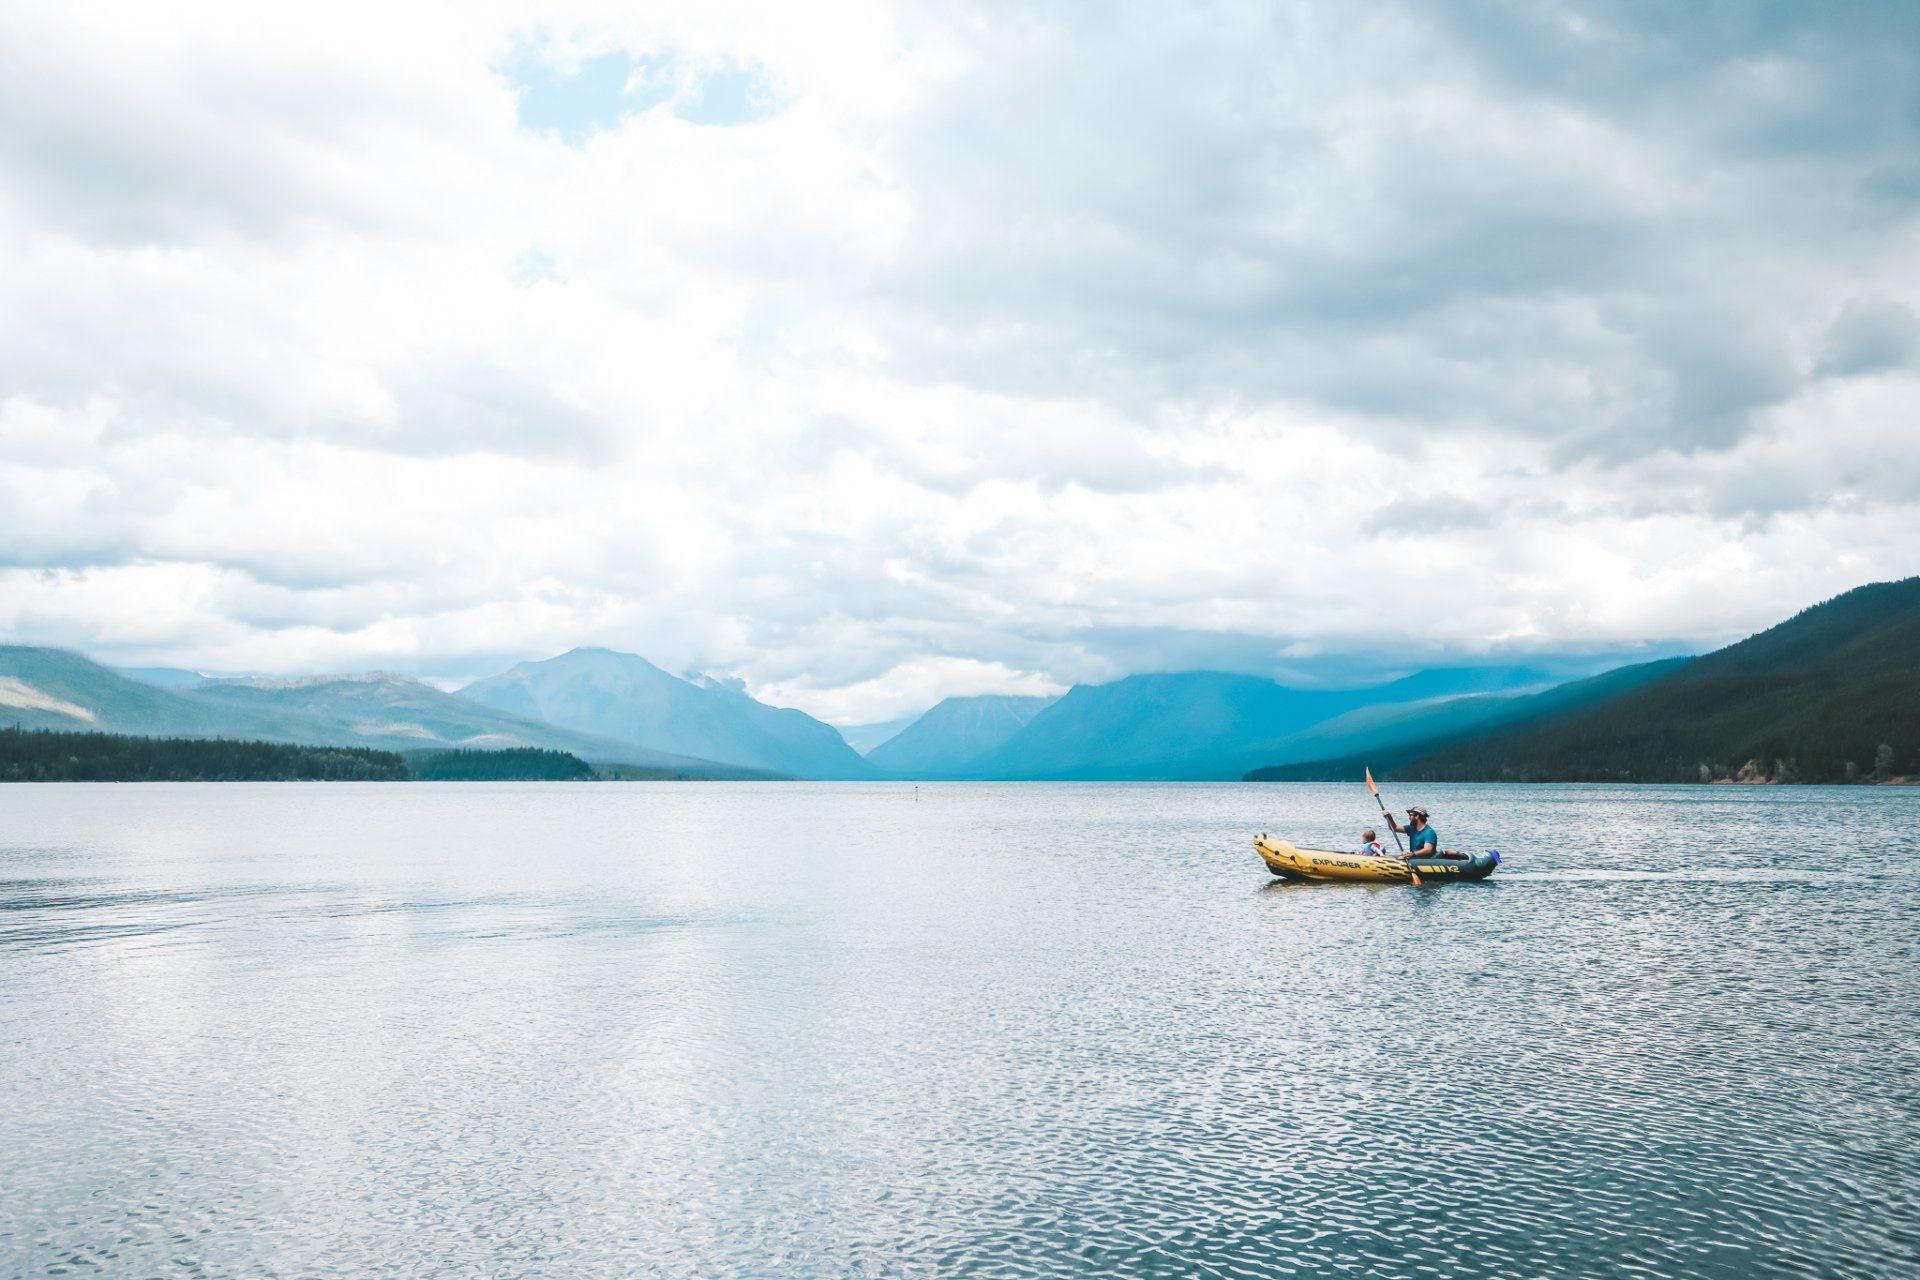
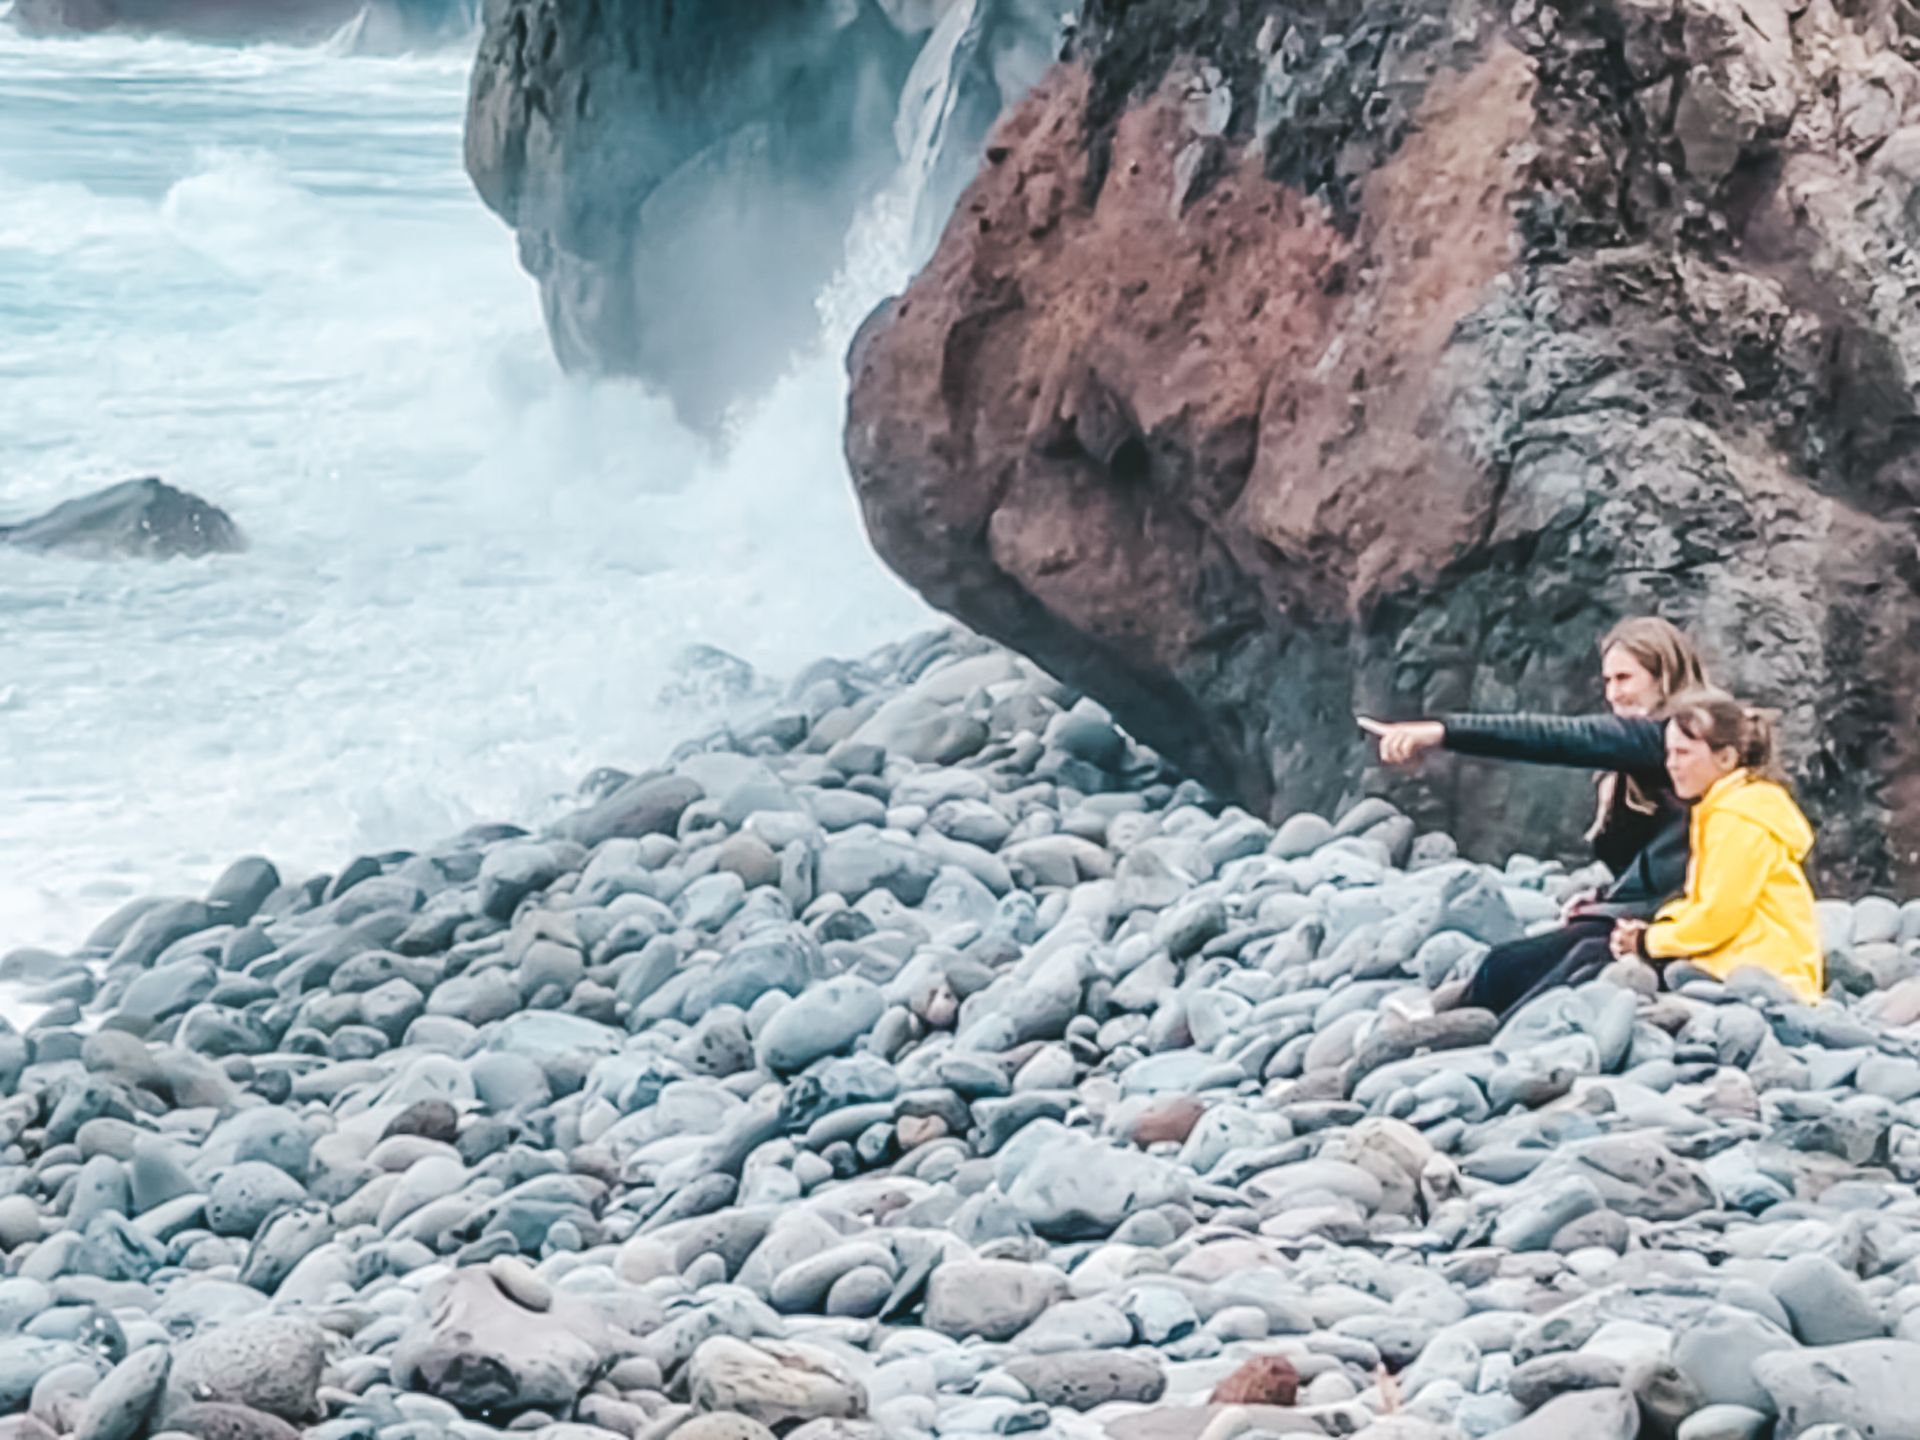
Glacier National Park is one of those National Parks that you hear about and just KNOW that it is going to be amazing. And it was. Right upon entering the park it felt more like home and less like a tourist attraction. The park itself is huge but upon arrival, it feels like you’re entering a little town with an ice cream shop and café, boat rentals, and a small visitor center. After going to the visitor center we headed to get our kayak inspected. The inspections are free and pretty basic. You will have to rinse it off if it’s wet or dirty but that’s about it. If you aren't bringing your own gear you can rent for a good price right across the street from the lake. Life jackets are required to be worn by children and adults must have them in the boat with them or worn. After that, we went right to the dock next to the Village Inn and set sail! The pictures can show just how gorgeous this place was better than I could ever describe.